How to set up your book project
Find out about: Getting your book into and out of Papyrus 12.
Find
Save
Backup
Share
Files and Projects
Hey, you’re bringing your book into Papyrus! That’s awesome. About time, if you ask me.

Getting started is super easy. If you’ve got a work in progress, go “Create New”, and select “Import Project”, and it’ll automatically become a Papyrus project.
If you’re starting fresh, choose “New Project” and follow the step-by-step guided book creation.

Creating a new project
Find your files (including that one note you made months ago!)
Digging through File Explorer to find your work? No thanks.
The new Bookshelf view keeps everything in one place, so you don’t have to think about where to save files or where your pictures ended up. Just open your book and get writing.
With Papyrus Projects, everything stays organized inside your book’s project folder. Any new documents you create are always saved in the right place because...
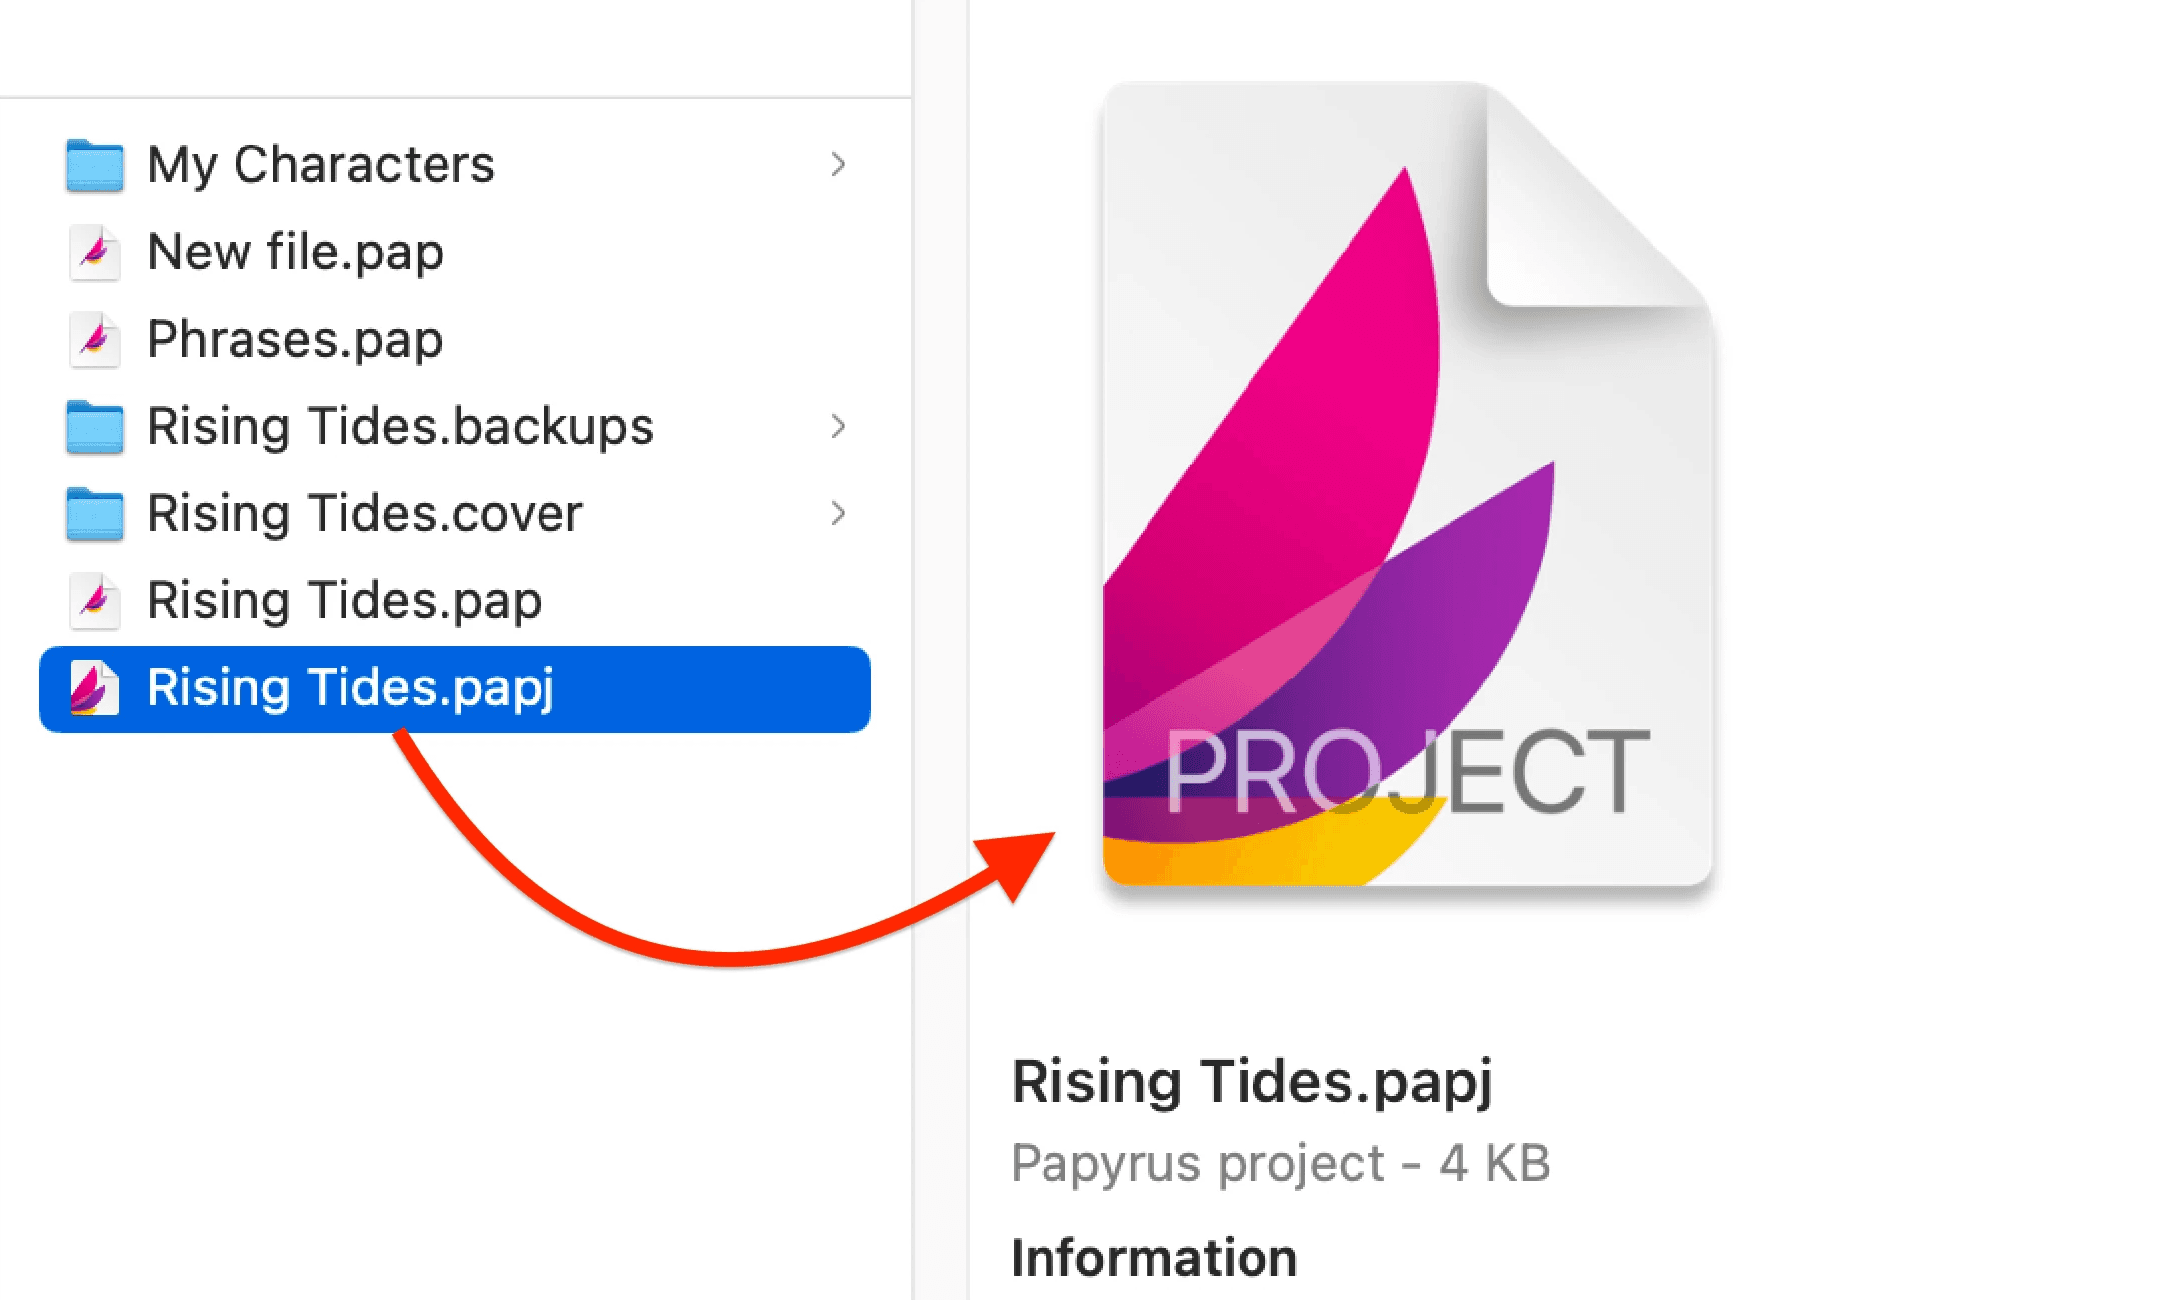
Your project’s .papj
With Papyrus 12, we invented a new file type: .papj (I don’t even remember what the “J” stands for, don’t ask me).
The new project file quietly keeps track of everything in your book, making sure Papyrus knows which files belong together. In short, it does all the File Explorer stuff for you!
So when you write, take backups, or add documents, everything is saved in the right place.
Always. Keep. Backups.
Papyrus always saves your files on your computer, not inside the software. By default, everything goes into “Papyrus Documents” in your “Documents” folder. And yes, Papyrus automatically backs up your work (unless you tell it not to—but please don’t! There's never too many backups).
Make a zip file of your whole project
Here’s a feature I love: the Backup Zip.
Right-click your book in the Bookshelf and select “Save Project as Zip.” You'll get a compressed folder with your entire project: Character Sheets, Thinkboards, backups, the whole shebang.
It’s a full, 100% backup with just two clicks. Delicious. Store it on a USB drive, in the cloud, or anywhere else for extra peace of mind.
tl;dr
Your Bookshelf keeps all your projects in one place. Click on any book cover to dive in. Create attached files in the Start Screen below the book cover.
New projects are organized automatically with Papyrus Projects.
Need extra security? Use Backup Zip to store a full project copy elsewhere.
Export to .docx for collaboration, or PDF for easy reading.
Bonus: sharing your work
Before we wrap up, let’s talk about getting your book to beta readers, publishers, or anyone not using Papyrus.
For collaboration, just open your book, go to File > Export, and choose Word Document (.docx). Done! You can choose the accoutrements here like track changes and comments if you’re collaborating with someone.
For beta readers, click the PDF Export button in the toolbar. Same deal—choose your preferred side dishes like comments if needed.
Happy writing!
— Sam.


